
Learn About Connecting Dual Monitors To A MacBook Air Or Pro
It doesn’t matter whether you’re a design professional, someone who’s looking to increase productivity at the keyboard or a computer geek. You might simply be trying to impress your friends. In any of those cases, dual monitors are definitely useful – and definitely cool-looking.Only a few years ago, hooking up dual displays to Apple products was a major pain. Today, it’s relatively simple to have two or more monitors running on your MacBook Air or MacBook Pro.
The process is a breeze if you’re using a second Apple monitor, thanks to the Mini DisplayPorts which were standard on the company’s laptops for years and the more recent Thunderbolt ports now standard on most newer Mac laptops. But it only requires a few extra steps if you’re using monitors from other manufacturers.
Here’s how to do it.
Connecting Another Apple Monitor to a MacBook
Let’s start with the easiest task: connecting a second monitor (the laptop’s monitor is considered the first) if you’re using an Apple Cinema or Apple Thunderbolt display.With everything turned off, find the Mini DisplayPort or Thunderbolt port (they look the same) on your MacBook; recent models of MacBook Pros will have multiple Thunderbolt ports, but now have a USB port instead of a Mini DisplayPort. Next, take the Mini DisplayPort or Thunderbolt cable that’s attached to the second monitor, and plug it into the appropriate port on your laptop. Turn both devices back on, and your machine will recognize the new monitor automatically and display your desktop on both screens. If you run into a version mismatch for Thunderbolt you can find Thunderbolt 3 to Thunderbolt 2 adapters, although the adapter sold by Apple doesn’t support MiniDisplay Port.
 Some MacBook Pros can support two external Apple monitors, and some Pros with six Thunderbolt ports can actually support as many as six extra monitors. However, a maximum of four can be 4K models, and Apple doesn’t “officially” offer support for adding that many monitors. The Thunderbolt ports on some Pros also support daisy chaining (connecting as many as six monitors or other devices in series), but once again Apple doesn’t “officially” support that process.
 There are other ways you can connect Apple monitors to your MacBook if you don’t want to (or can’t) use Mini DisplayPort/Thunderbolt for some reason. They’re identical to the methods you use for non-Apple monitors, and we’ll look at those next.
Connecting a Non-Apple Monitor to a MacBook
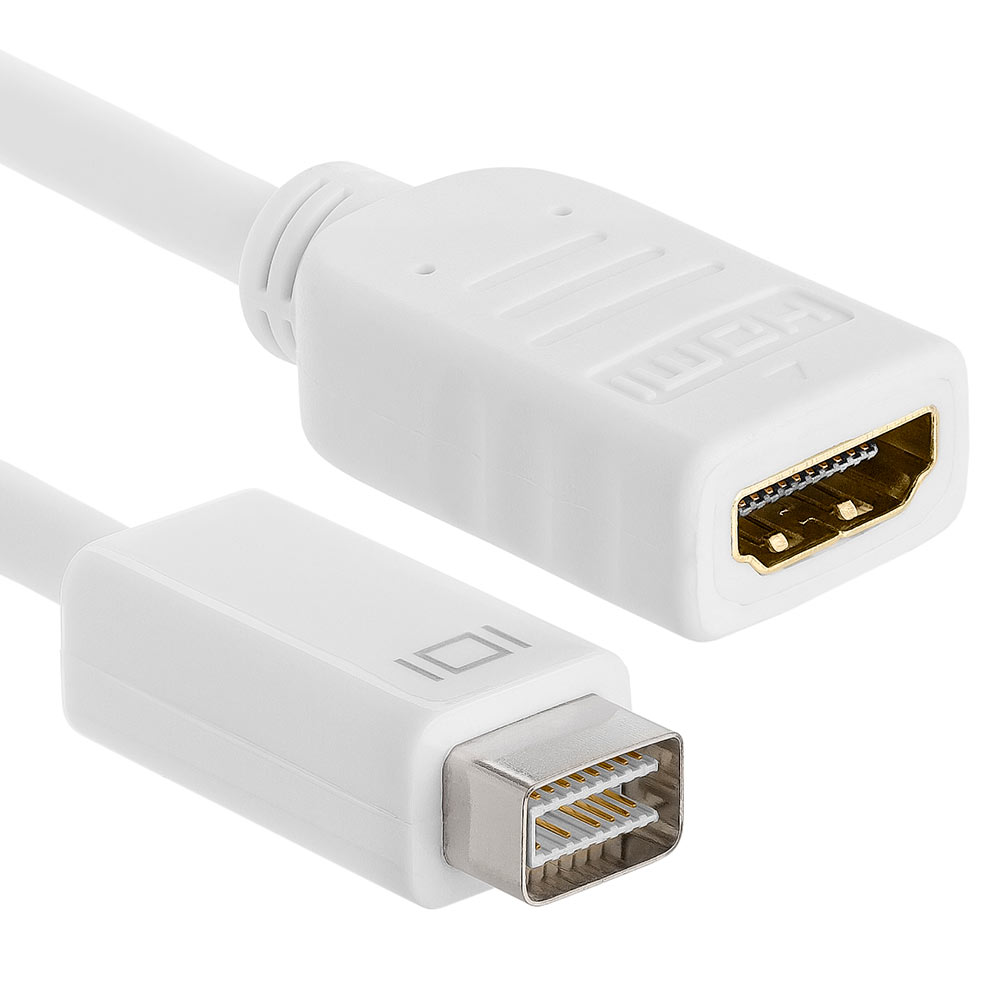
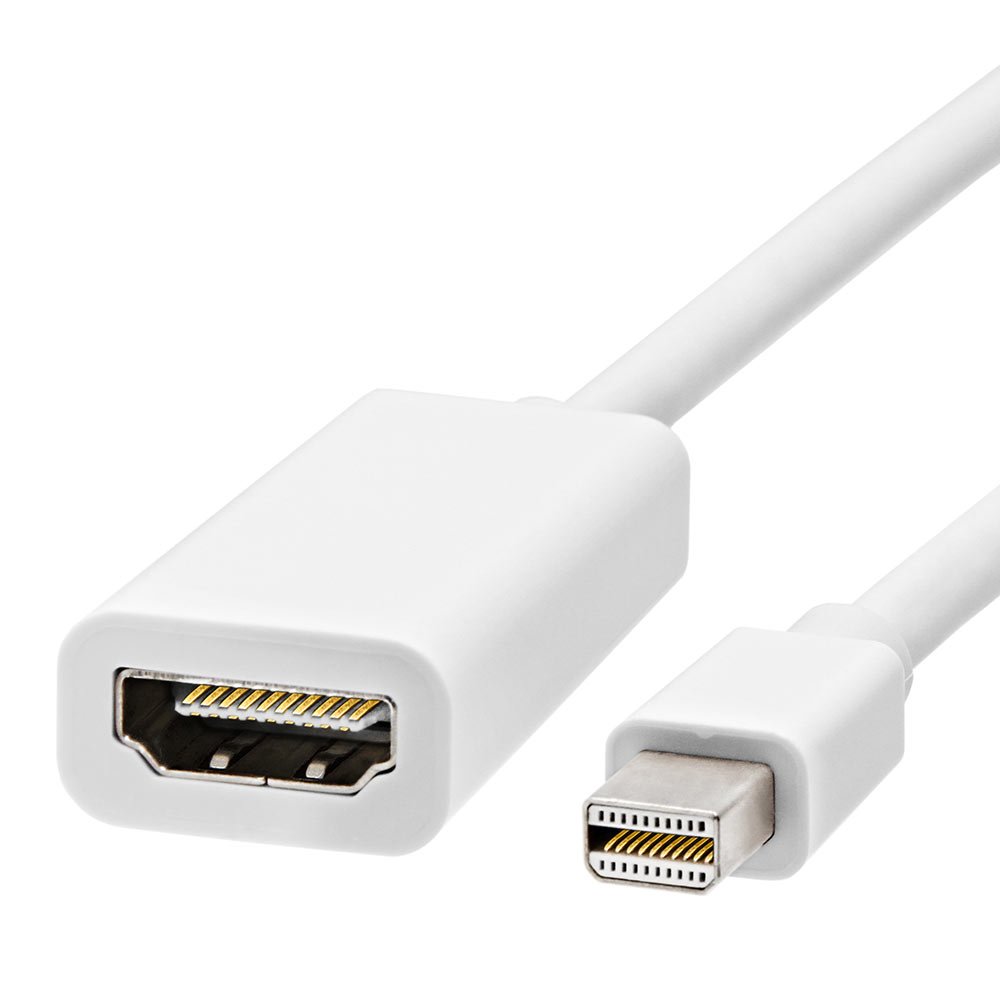
The easiest non-Apple monitor to connect to an Air or Pro is one with an HDMI output, since most recent Mac laptops have an HDMI port. Once you do that, your machine will identify and use the second monitor. If your machine doesn’t have an HDMI port, you can plug a Mini DisplayPort to HDMI adapter into the Mini DisplayPort or Thunderbolt port on the laptop.
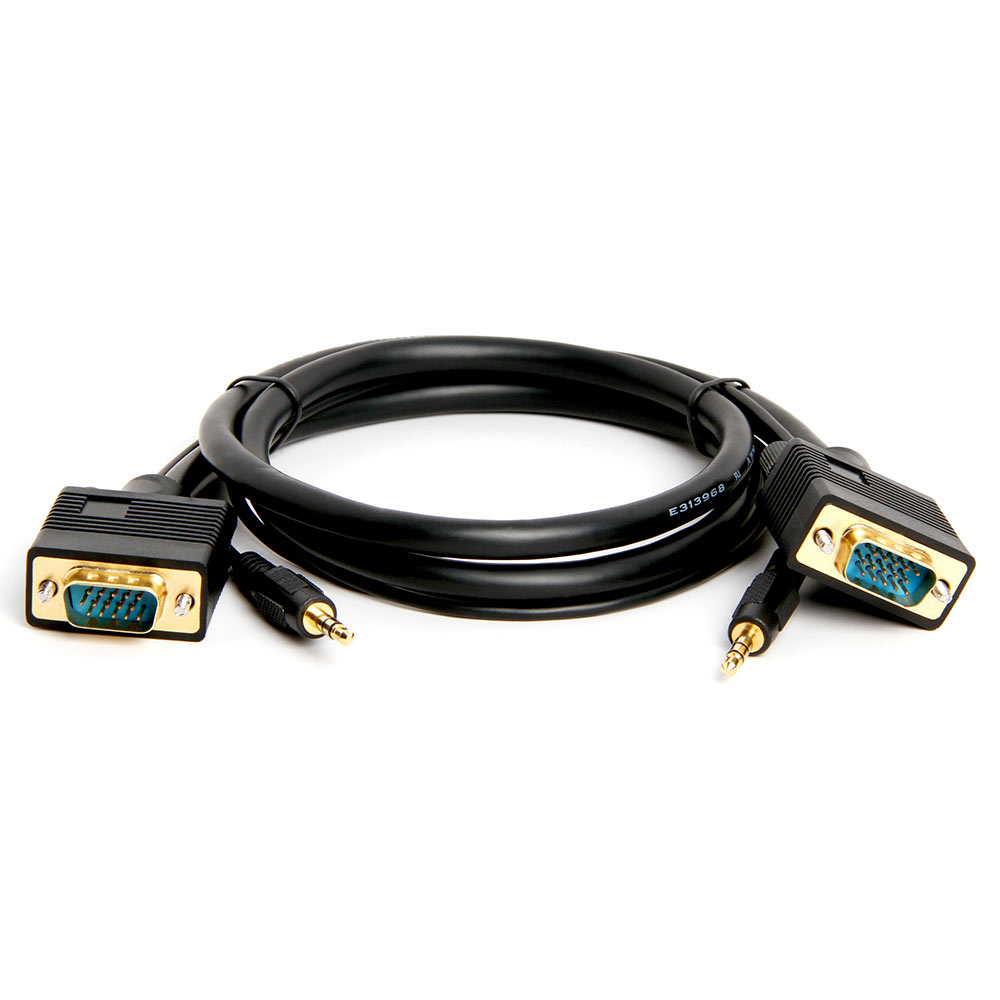
 Similarly, if you have an older monitor with a DVI or VGA output but no DVI or VGA ports on your Mac, you can find Mini DisplayPort to DVI and Mini DisplayPort to VGA adapters, as well as HDMI to DVI adapters.
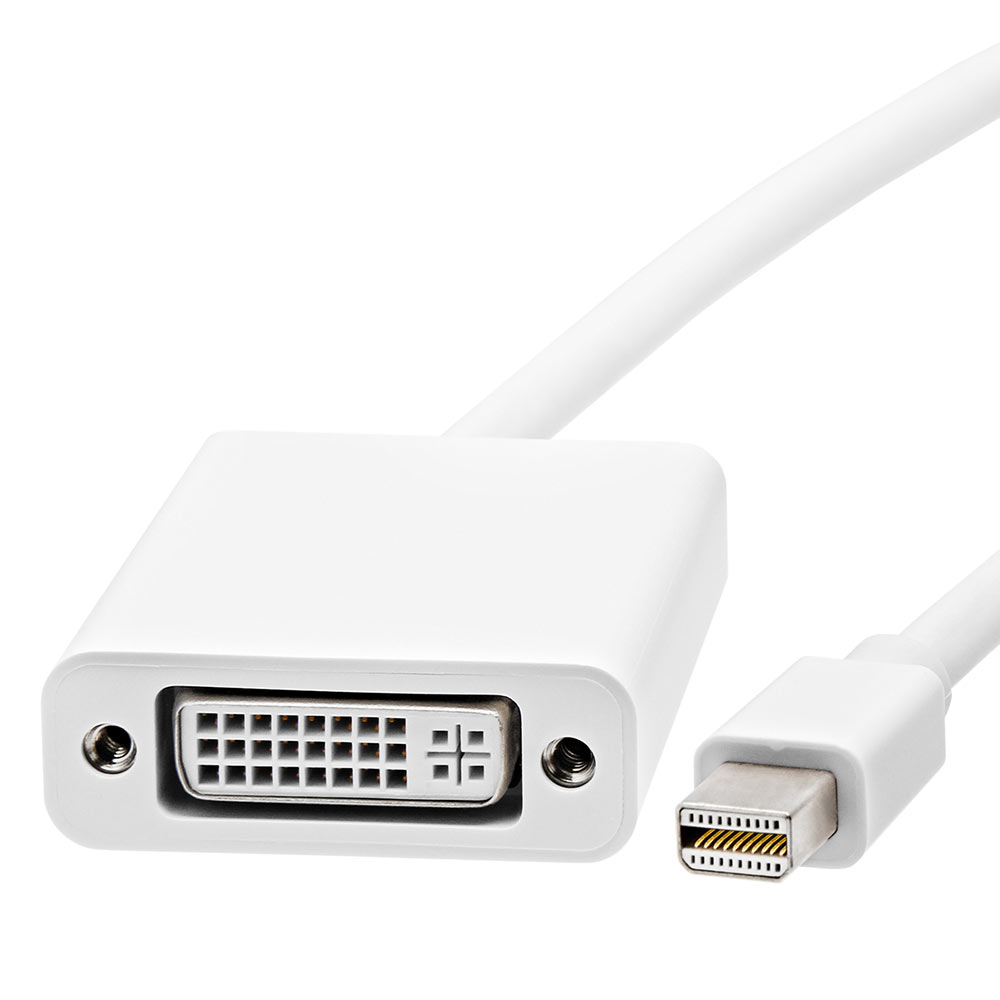 The additional ports you’ll find on MacBook Air and MacBook Pro models vary with the size of the laptop and the year it was released. But the DisplayLink technology installed on these Macs allows you to connect an external monitor via other types of connections such as the USB-C port, was long as you use the proper adapter. Be aware that the newer Macs use USB 3.1, so when shopping you should choose a USB 3.1 cable/adapter in order to take advantage of the much faster speeds and greater power loads that USB 3.1 can handle. Another solution is to purchase a USB-C Digital AV Multiport Adapter which accepts connections from HDMI devices in addition to USB-A and USB-C, or a USB-C VGA Multiport Adapter which accepts connections from VGA devices as well as USB-A and USB-C.
It’s true that the intermediate use of DisplayLink connectors, cables and adapters to set up a second monitor can be a bit of a pain, reminiscent of the 20th century when it was often necessary to daisy-chain a number of connectors or adapters to transfer video or audio signals. But it’s a one-time task, the technology allowing the flexible use of DisplayLink cables is powerful, and having multiple monitors is well worth the effort.
Setting Up Your Monitors
When you’ve added a monitor to your MacBook Air or MacBook Pro it will automatically be set as the monitor running on the right side of your configuration, as an extension of the original display.You can easily change this by opening “displays” from the laptop’s “system preferences” menu and clicking the “gather windows” button. That will show icons on your main screen for each monitor connected to your system. Next, choose “display preferences” and select “arrangement,” which will allow you to drag the icons to represent their desired positions in your configuration. You can also drag the main menu bar between icons, which will determine which monitor is your main display and will display all new windows.
There’s one other choice you have when running multiple monitors: whether the additional screens will be extensions of your original screen, or will mirror it. You can toggle between the two possibilities on the arrangement pane by either checking or unchecking the “mirror displays” box for each monitor that you’ve added. If you have several additional monitors and want to use both mirroring and extension, that’s easy as well. Just uncheck the “mirrors display” box and then drag and drop the monitor icons onto the icon of the screen you want to mirror. All others will act as extensions.
Finding the Proper Adapters
It can be a challenge to figure out exactly which DisplayLink connectors and adapters you need in order to connect an extra monitor to your MacBook, particularly if the monitor is an older one without a DisplayPort, Thunderbolt or HDMI cable. It’s even harder when you’re in a store and staring at a wall with rows and rows of cables and adapters.
 Cmple is able to make the process less painful. We offer a wide selection of adapters and connectors suitable for use with DisplayPort technology and older monitors (from VGA to DVI), all at our trademark high-quality and low prices. Chances are excellent that you’ll find exactly what you need in just a minute or two, from the comfort of your couch or chair.
0
Featured products
